A Comprehensive Guide to Website Caching

As a website owner, one of your main goals is to drive more traffic to your site. However, if your visitors experience slow page speeds once they get there, this can cause them to leave without reading your content. In this scenario, all of your hard work will have gone to waste.
Fortunately, you can improve User Experience (UX) by implementing caching on your website. This involves saving a copy of your site’s files so visitors don’t have to wait for this data to be sent from the web server to their browser. Caching your site can effectively improve loading times and avoid overworking your server.
In this post, we’ll talk about caching and how it can benefit your website. Then, we’ll show you how to implement caching in WordPress using two different methods. Let’s get started!
An Introduction to Caching
When someone visits your website for the first time, their browser requests your origin server to send over the site’s data. This usually only takes a few seconds, but there are a few factors that can slow down this process.
Most web servers require a physical server location, so geography matters. If the user is very far away from your server, they’ll likely face slow page speeds. Your site may also load slower if your content contains lots of images or large files.
This is where caching comes into play. Caching reduces content delivery time by saving a copy of your website upon an initial visit. That means when a user visits your site a second time, the saved cache is ready and waiting. This can prevent the browser from using its resources to load the entire site files again.
Types of Caches
There are many different types of caches, but these are two of the most common choices:
- Client-side caching. This happens when a web browser stores a copy of a website’s data onto a user’s hard drive. A browser cache can avoid downloading the same data every time, which can strain the server.
- Server-side caching: Instead of storing site files on a user’s hard drive, this web cache saves data on the server. This commonly involves using a Content Delivery Network (CDN).
Less common but also a good option, is object caching. This technique saves database queries to limit the number of requests sent to a database. Additionally, opcode caching saves a compiled PHP code to a server’s memory.
Get Content Delivered Straight to Your Inbox
Subscribe to our blog and receive great content just like this delivered straight to your inbox.
The Benefits of Website Caching
Regardless of the type you use, caching can lead to better page loading speed and Search Engine Optimization (SEO). Plus, this can improve your visitors’ experience when they return to your site a second time.
Moreover, one of the main benefits of caching is that it can improve site performance. That’s because when you enable caching, your content can load much faster. By saving files locally, browsers can easily access your website without having to request your site files over and over.
Related: Your Guide to Improving SEO Rankings
Furthermore, studies show that if your content takes more than three seconds to load, 40% of users will abandon your site. Therefore, when you implement caching, you can easily decrease your bounce rates. By doing this, you can create a less frustrating experience for your visitors.
Additionally, caching your site’s files can help improve SEO. That’s because when Google evaluates your site, it considers page speed as a search ranking factor. This means that caching can be just as important as other SEO techniques such as targeting keywords..
Although caching can speed up your website on follow-up visits, your browser will continue to process initial HTTP requests. Along with caching, you should consider other reasons for slow page speed and try to optimize your content for performance..
If you’re not sure how fast your website is, you can easily test its speed. Using a tool such as Pingdom, you can search for your URL to analyze your loading time:
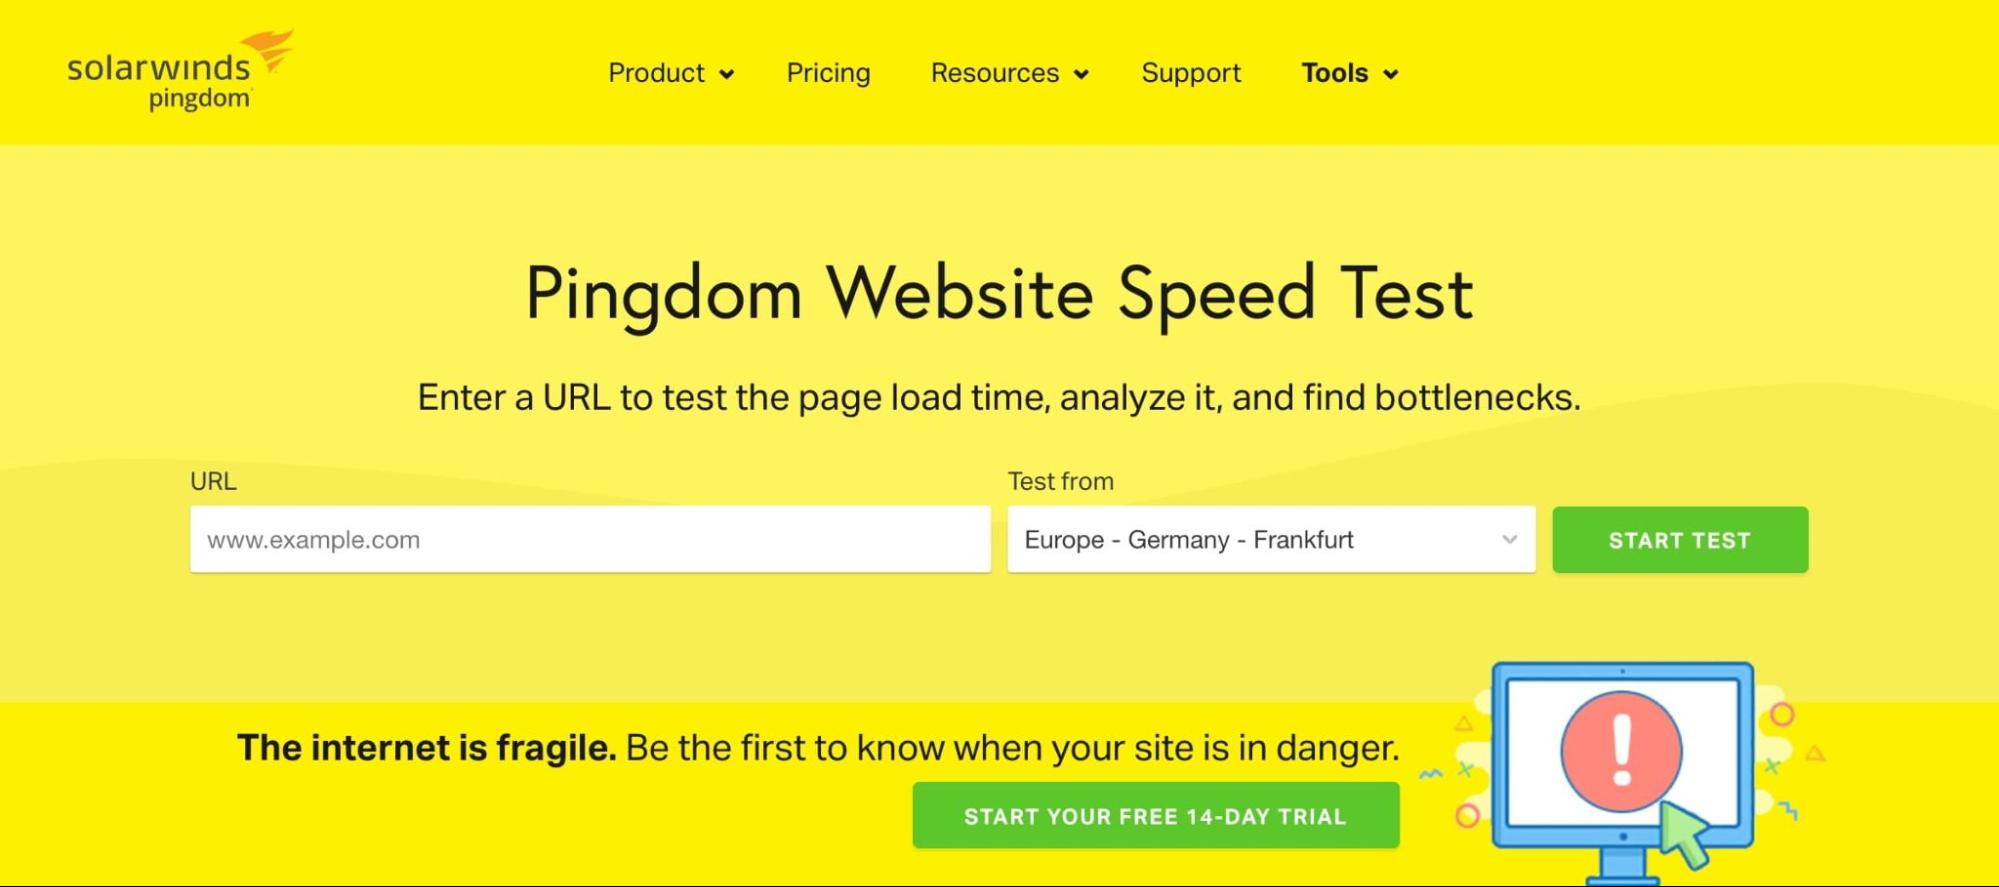
Keep in mind that you shouldn’t be discouraged by any negative results. You can quickly and easily fix this problem by upgrading your hosting plan, optimizing CSS files, and implementing caching.
Related: Optimize Your WordPress Website for Speed
How to Implement Caching in WordPress (2 Methods)
Once you decide that caching is a good option for your website, it’s time to implement it. Although you can manually enable caching with HTTP headers, there are some simpler alternatives. Let’s discuss two easy methods to cache your WordPress site!
1. Use Your Host’s Caching Service
Before you install a caching plugin, it’s a good idea to see if your hosting provider already has a caching service. Most web hosts have a preferred method that may already be set up on your website.
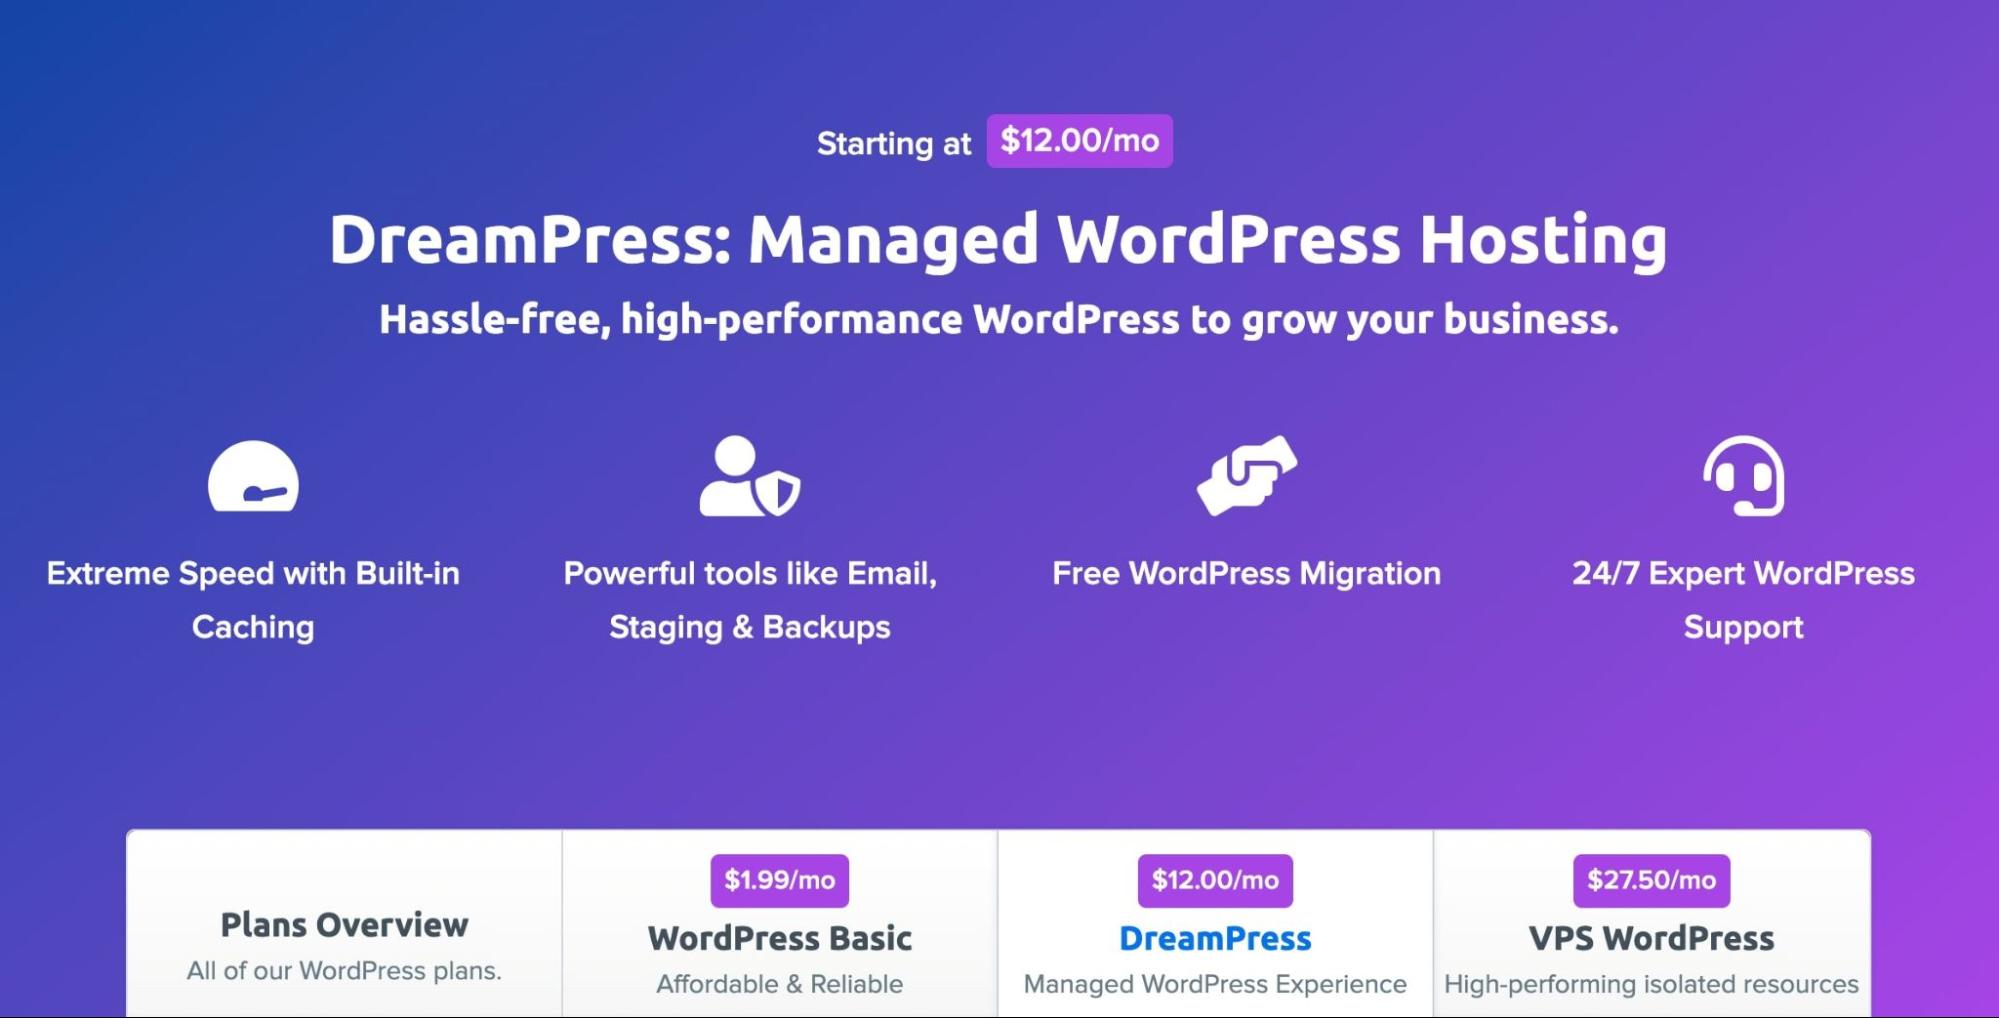
Here at DreamHost, our managed WordPress hosting plans come with built-in caching. Using this option, you won’t have to worry about installing a plugin and learning its configuration:
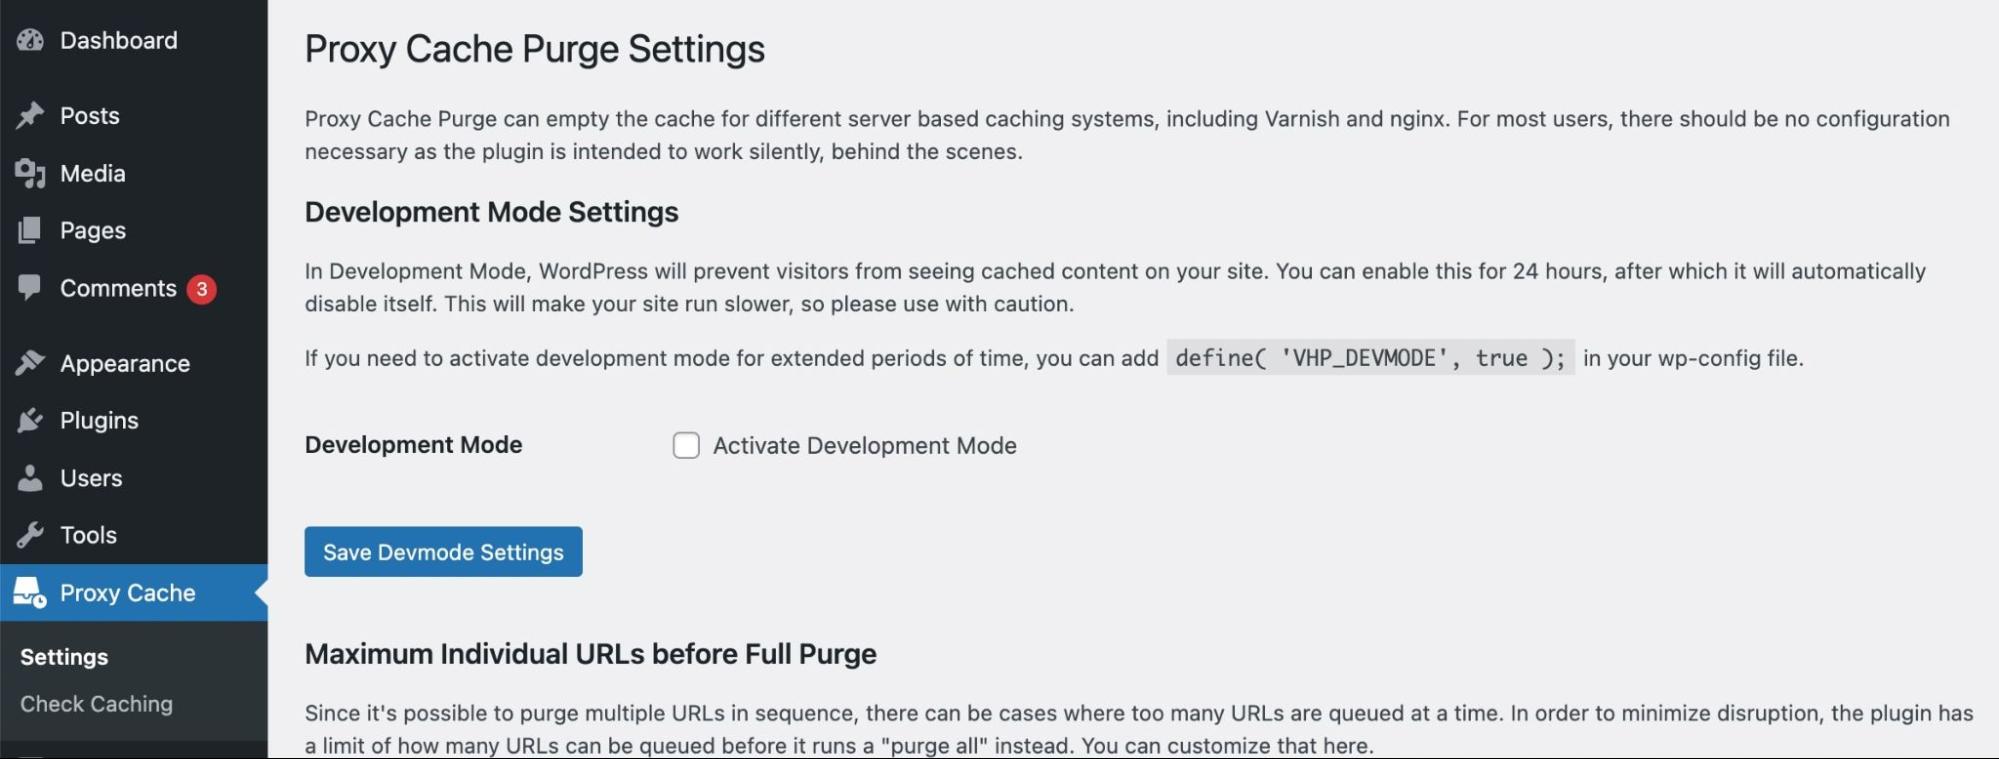
When you sign up for a DreamPress plan, you’ll receive a built-in server cache. In your WordPress dashboard, you’ll also see that the Proxy Cache Purge plugin comes preinstalled:
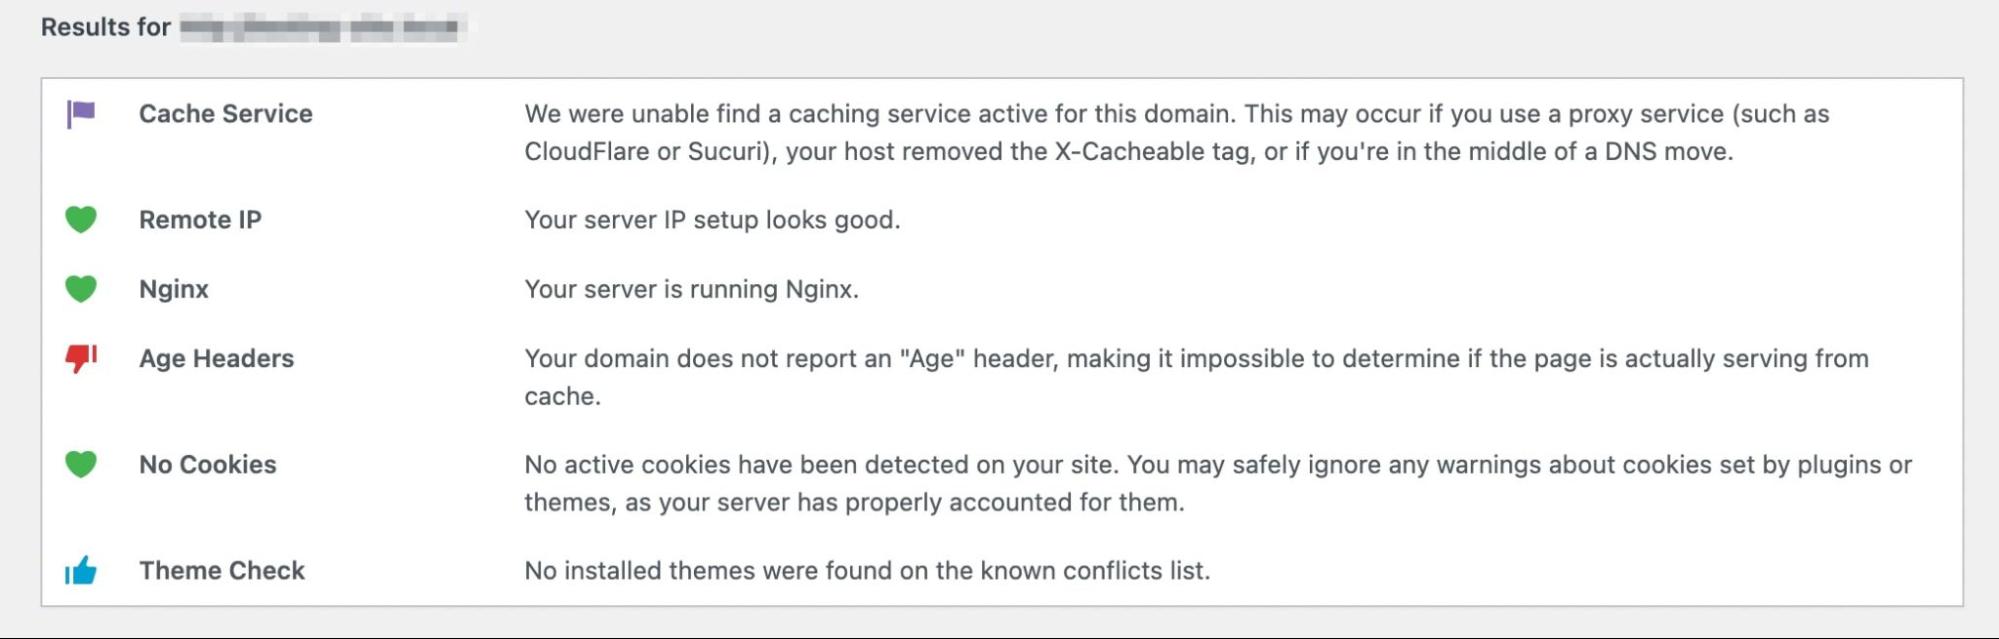
This caching plugin is a tool that you can use to manage your cache. If you open the Check Caching page, you can enter the URL of your website or a specific page:
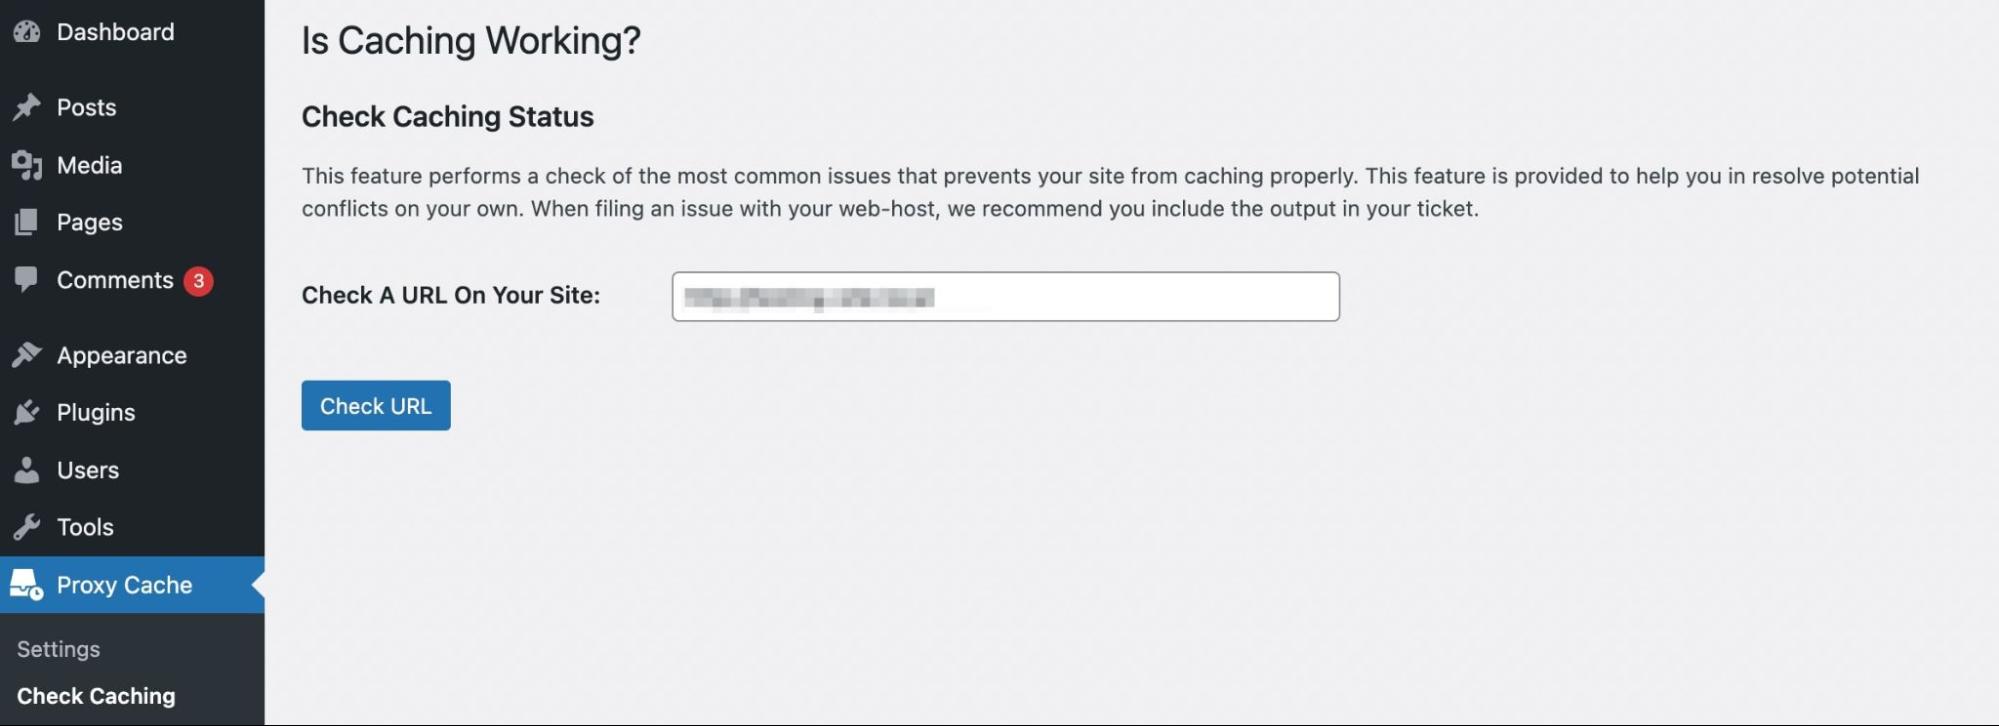
Then, click on Check URL to view a report of any caching issues. You’ll also be able to view information about your active cookies, as well as any theme conflicts:
If your website receives lots of international visitors, you may also want to use a Content Delivery Network (CDN). This is a globally-distributed group of servers that cache your website’s content, which speeds up loading times even when users are distanced from your server.
Some web hosts provide a CDN with their plans. For example, our advanced managed hosting options come with an unlimited CDN provided by Cloudflare. If you want to implement this caching service on your website, you can take a look at our DreamPress Plus and Pro plans.
2. Install a Caching Plugin
If your web host doesn’t provide a built-in caching service, you can install a caching plugin. This is likely necessary if you self-host your website or have a shared hosting plan. Most caching plugins provide customizable settings, which are simple for beginners to configure.
However, with so many options available, you might not know how to pick the right plugin. When reviewing any tool, be sure to keep these factors in mind:
- Features: It’s important to evaluate each plugin’s description to see how it works and if it would be an effective option for your site’s data.
- Reviews and ratings: Often, high user ratings can tell you if other website owners have found success using a certain plugin or if they’ve frequently had issues with it.
- Updates: To prevent incompatibilities, it’s a good idea to only install plugins that have been updated in the past six months.
- Support: When you experience a problem, you’ll want to receive fast, informative help from the plugin’s developers.
- Price: Many caching plugins are free, but the premium versions can offer extended features and support.
Once you pick the right option for your website, consider using it on a staging site to test its functionality and performance.
Top 3 Caching Plugins
Now that you know what to look for, let’s go over our top picks for caching plugins!
1. WP Super Cache

Since it was developed by Automattic, WP Super Cache is one of the most popular WordPress caching plugins. It works by generating static HTML files instead of heavy PHP scripts. This allows 99% of your visitors to experience a faster loading speed after this caching process.
One of the main benefits of WP Super Cache is its three different caching modes. Whether you are a beginner or an expert, you can select a caching option to meet your needs. For example, beginners can avoid editing PHP files by setting the plugin to the ‘Simple’ mode.
Features:
- 3 caching modes (Simple, Expert, and WP-Cache caching)
- Enable cache timeouts or schedule garbage collection
- Integration with OSSDL CDN off-linker
- REST API endpoints
Price: WP Super Cache is a free WordPress plugin.
2. WP Rocket
If you need a powerful caching plugin without an extensive configuration process, consider installing WP Rocket. This plugin automatically applies 80% of best practices when it comes to web performance. With only a few clicks, you can start optimizing your WordPress website for speed.
Although WP Rocket doesn’t offer a free version, its cutting-edge speed technology is worth considering. With just its basic features, WP Rocket enables page caching, browser caching, and GZIP compression. Plus, you can also use this plugin to delay JavaScript execution, remove excess CSS, and edit the display options for images and iframes.
Features:
- Page and browser caching
- GZIP compression
- Compatible with popular themes and plugins
- Ecommerce optimization
Price: WP Rocket subscription plans start at $49 per year. This includes plugin updates and support for one website.
3: LiteSpeed Cache

Unlike the other plugins on this list, LiteSpeed Cache creates a server-level cache. It works alongside your server, pointing out cacheable web pages. This plugin is best used with a LiteSpeed Web Server, but its QUIC.cloud CDN service enables you to use LiteSpeed cache with any server.
With the LiteSpeed Cache plugin, you can store a copy of your website content to reduce your number of server requests. This tool includes automatic page caching, with separate web caching for both mobile and desktop views. Using this tool’s simple interface, even beginners can customize their image and page optimization.
Features:
- Minifies CSS, JavaScript, and HTML
- Optimizes images
- Supports WordPress Multisite
- Compatible with WooCommerce, bbPress, and Yoast SEO
Price: LiteSpeed Cache is a free plugin. However, you’ll need to have a LiteSpeed Web Server or QUIC.cloud CDN service to access this server-level cache.
Keep Website Visitors Happy with Faster Load Times
Ultimately, caching your WordPress website is one of the best options for speeding up your content. After you implement a browser or server-level cache, returning visitors can access your website using its cached data. This avoids the need to completely reload heavy files a second time.
To get started with caching, you can easily install a caching plugin such as WP Super Cache. Due to its customizable caching modes, you can choose an option that aligns with your experience level. Plus, it’s absolutely free.
As an easier alternative, you can use the caching service from your hosting provider. Here at DreamHost, our managed WordPress hosting solutions optimize your website’s speed with a built-in cache. Check out our hassle-free DreamPress plans today!
Do More with DreamPress
DreamPress' automatic updates, caching, and strong security defenses take server management off your hands so you can focus on content creation.