9 Steps to Build an Online Store and Become Your Own Boss

While traditional careers have their benefits, there’s something very appealing about being your own boss. However, you can work whenever and wherever you want while still pursuing your passion. The tricky part is knowing how to get started.
Setting up an online shop is relatively simple with accessible and easy-to-use tools such as WordPress and WooCommerce. Launching an e-commerce store lets you take your product ideas to the web and access the vast pool of potential customers available there.
This article will walk you through the steps to build your online store with WordPress and WooCommerce and start a home-based business in no time. Let’s go!
DreamHost E-commerce Hosting
Sell anything, anywhere, anytime with WooCommerce, the world's biggest e-commerce platform, and DreamHost.

9 Steps to Build an Online Store and Become Your Own Boss
The very first thing you’ll need to start a successful online store is a product a potential customer will want to buy. We can’t help you with that, unfortunately — your idea has to be all your own! You’ll also need a way to manufacture your product, either by doing it yourself, hiring a company to do it, or some combination of the two.
Once you’re done, you’ll be ready to set up your online store and start selling your merchandise, which is where the steps below will come in handy.
Related: How to Start a Business — The Complete Guide
Step 1: Secure Your Web Hosting and Domain Name
The first two things you need to start any kind of website are a hosting provider and a domain name. Your web hosting provider will store your website’s files, while your domain name provides an address where customers can find your store.
If you’re building a WordPress site (which we recommend), you might also want to consider WordPress hosting. These types of plans are explicitly geared towards the platform, and the servers they run on will be optimized.
Our shared WordPress hosting plans, for example, are ideal for new WordPress sites. You’ll have access to our 24/7 tech support team, and plans are cost-effective, starting at just $2.59 per month for a single site.

What’s more, we can also help you register your domain name. You can quickly check the availability of your desired web address, then register it once you’ve found the perfect fit.
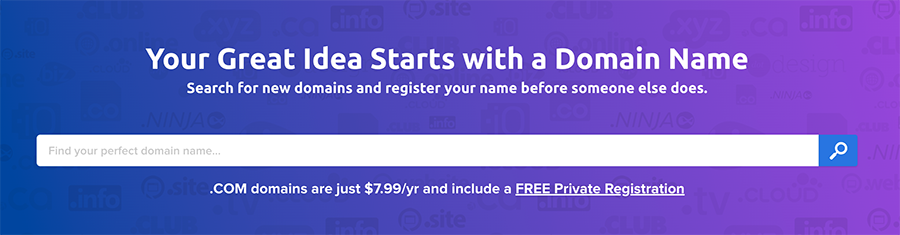
Simply fill in some information to complete the process. .COM domain registrations currently start at $7.99 for the first year, but if you’re also hosting your site with a shared WordPress plan, you’ll get yours for free.
Related: Why You Should Consider Keeping Domain Registration and Web Hosting Under One Roof
Step 2: Set Up WordPress and WooCommerce
Regardless of your current host, a WordPress hosting plan likely comes with the platform pre-installed or with a one-click installation option. However, in some cases, you may need to install WordPress manually.
Next, you’ll need to set up WooCommerce — a premier ecommerce platform for WordPress (we’ve compared it to other competitors and think it’s the best e-commerce platform available).
The first step is to install and activate the WooCommerce plugin.

Once this is complete, you’ll be prompted to configure your online store using the onboarding wizard — fill in the fields as best you can now, or come back to this step later.
Related: A Comprehensive Introduction to WooCommerce
Step 3: Identify Your ‘Value Proposition’
Before creating content for your e-commerce business, consider identifying and writing out your value proposition. This is simply a statement explaining the mission and value of your small business and its products.
Two of the most important questions your value proposition should answer are:
- What problem does my product solve for customers?
- What makes my approach to this problem unique compared to other similar businesses?
Establishing your value proposition now should help you create content later. Also, any copy, product, or long-form content (such as a blog post) should reflect the values you identified in your proposition.
We’d also suggest sharing your value proposition with customers on your website. Most companies do this on an About page or as a “Mission Statement.” Here’s ours as an example:
Sharing your values with customers can help demonstrate why your product is relevant to them. Plus, you might win over customers who might have otherwise purchased from your competition.
Related: How to Create a Content Marketing Strategy
Step 4: Create Your Product Pages
Now you’re ready to go back to setting up your online store. Navigate to Products > Add New within WordPress to start adding your first item. There are a lot of settings to consider here, but your priority should be your product page, including photos and product descriptions.
Taking Quality Product Photos
Showcasing your products in their (literal) best light is crucial. Unprofessional, low-quality photos make your site seem untrustworthy, which will discourage customers from opening their wallets.
As such, make sure your product photos are well-lit and taken in front of a clean background. If you can, take pictures from a variety of angles and include some close-ups of unique details to help catch customers’ eyes.

Once you have your product photos, make sure to optimize them with a plugin such as ShortPixel or Optimole before uploading them to your site. This will help prevent large media files from slowing your site down.
Writing Captivating Product Descriptions
You’ll also want to craft your product descriptions carefully to help convince site visitors to become paying customers. Keep your value proposition in mind when you’re writing, and make sure to point out information about how the product will benefit customers.

It’s vital to make your description easy to scan, as skimming content has become more popular over the years. While using formatting techniques such as bullet points and subheadings, keeping paragraphs short can convey more information than a brutal wall of text.
Specifying Product Data
Finally, for this section, you’ll want to configure the settings in the Product Data section of the product editor. Here you’ll set your product’s price, add a SKU number and shipping information, specify if it comes in any variations (e.g., other colors or sizes), and more.
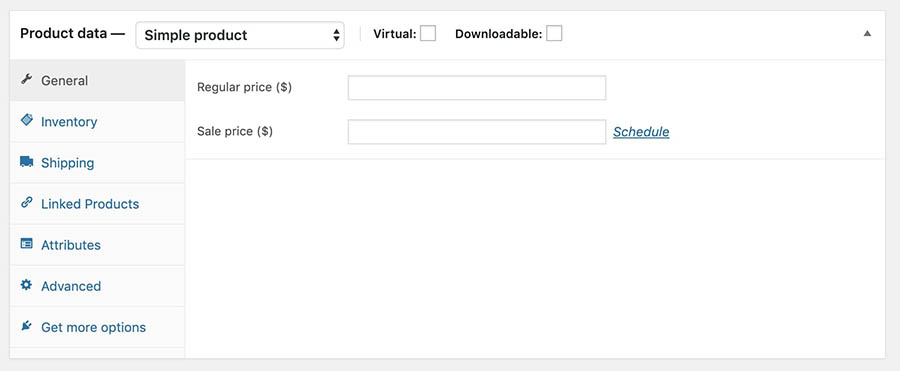
Take your time with these, as they’re an essential aspect of your ecommerce store and business. Once you have the basics down, you may want to consider setting up Linked Products to help cross-sell other store items and enable reviews to add some social proof to your site.
Related: 5 Amazing WooCommerce Templates to Increase Sales on Your Website
Step 5: Configure Your Tax Settings
In the U.S., each state has laws regarding sales tax for internet-based retailers. It’s not a bad idea to talk with a tax attorney before your business gets up and running, but at the very least, you should familiarize yourself with the laws in your area.
To set up sales tax for your products in WooCommerce, navigate to WooCommerce > Settings > General in the WordPress dashboard. Make sure the Enable taxes setting is checked, then save your changes.
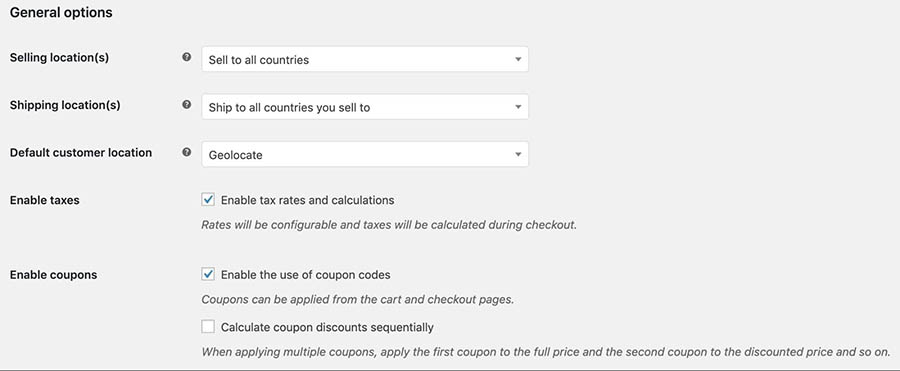
If there wasn’t one before, you should now see a Tax setting tab at the top of your WooCommerce Settings page. Click on it, then configure the settings on the page.
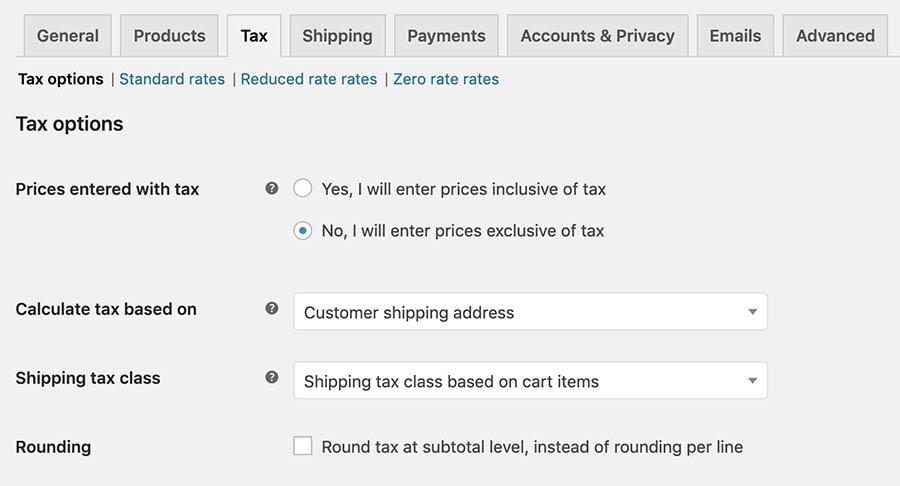
You can determine whether your prices will automatically include tax at checkout and what information WooCommerce should use to calculate tax for each product. It’s also possible to add Standard, Reduced, and Zero tax rates if needed.
Related: A Beginner’s Guide to Affiliate Marketing
Step 6: Specify Your Shipping Methods
Shipping is a make-or-break aspect of running an online shop. As such, in the Shipping settings tab, you can add practically as many options as you want to implement a delivery strategy.
If you’re going to make your products available in a wide range of locations, you might want to create shipping zones.
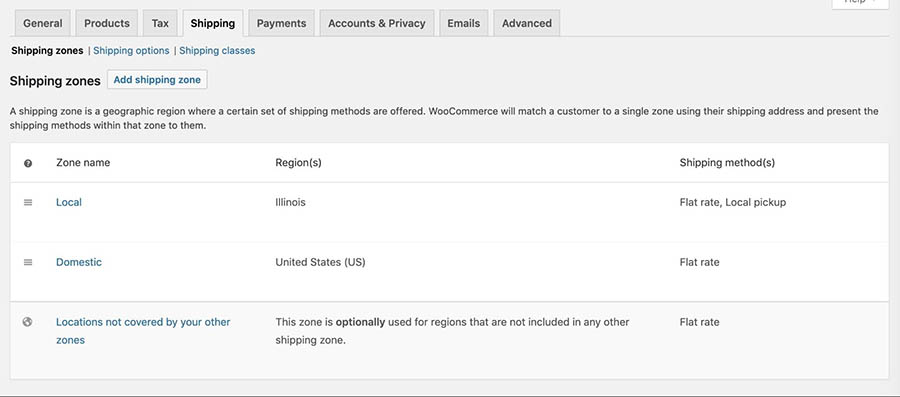
They essentially let you offer different rates to customers depending on where they’re located. If you also want to charge extra for international shipping, you can do so here.
Step 7: Decide Which Payment Gateway to Offer
In the Payments settings tab, you can specify how customers can pay for their products. By default, WooCommerce will set up Stripe and PayPal vendors for you.
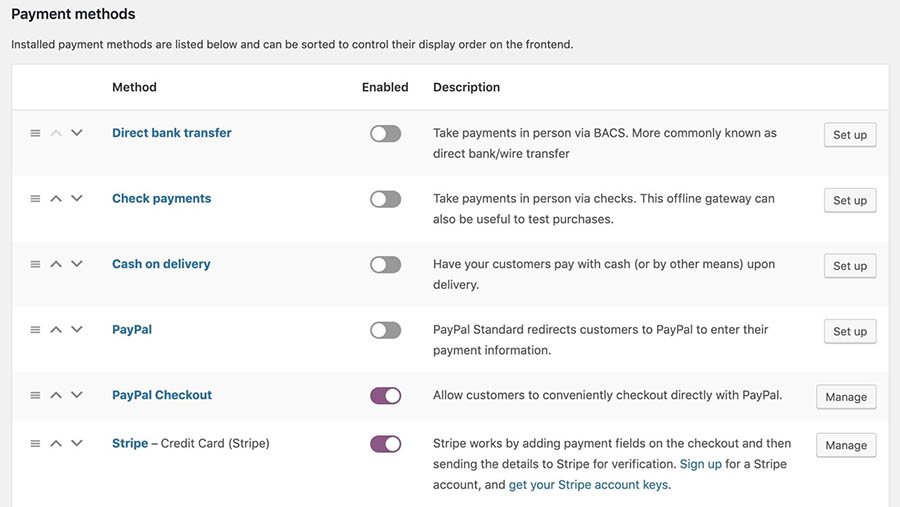
However, you can add additional payment processor gateways — including popular solutions such as Square and Amazon Pay — with WooCommerce extensions. In addition to these payment options, you can enable your customers to pay with a check, cash, or bank transfer.
The gateways you decide to offer are ultimately up to you, based on familiarity, ease of use, and transaction fees. However, it’s also important to consider your customers, as these criteria are also their primary concerns. As such, gateways such as PayPal are usually a given.
Related: The 10 Most Popular Online Payment Gateways for Your Website, Compared
Step 8: Run Through Your WooCommerce Search Engine Optimization (SEO) Checklist
You’re almost ready to welcome customers to your store, but first, they need to be able to find it. SEO is the answer. By optimizing your content for search engines, you’ll make it more likely customers can find you while searching for products online.
As with many site aspects, WordPress plugins can help. For example, Yoast SEO is a highly rated and effective plugin that can help manage on-page SEO factors such as keyword usage, permalinks, and readability.

If you want something a little more specialized, you can also look into the Yoast WooCommerce SEO plugin.
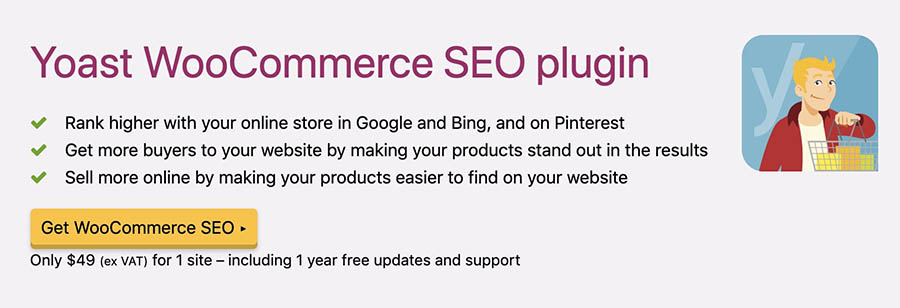
It’s better suited to WooCommerce than the free version and can also help promote your products on social media. At $79 per year, it’s cost-effective and may be a solid investment, especially if it helps to bring in a few more organic customers via search engines.
Related: Want To Start an E-commerce Business? Every Successful Entrepreneur Has These 5 Traits
Step 9: Publish and Promote Your E-Commerce Website
While you can keep refining your ecommerce website, you’ll want to publish at this point — think of it as laying down a marker. You’ll also want to make sure customers know who you are and what you do. Promoting your site on social media and through email marketing campaigns can help get you started.
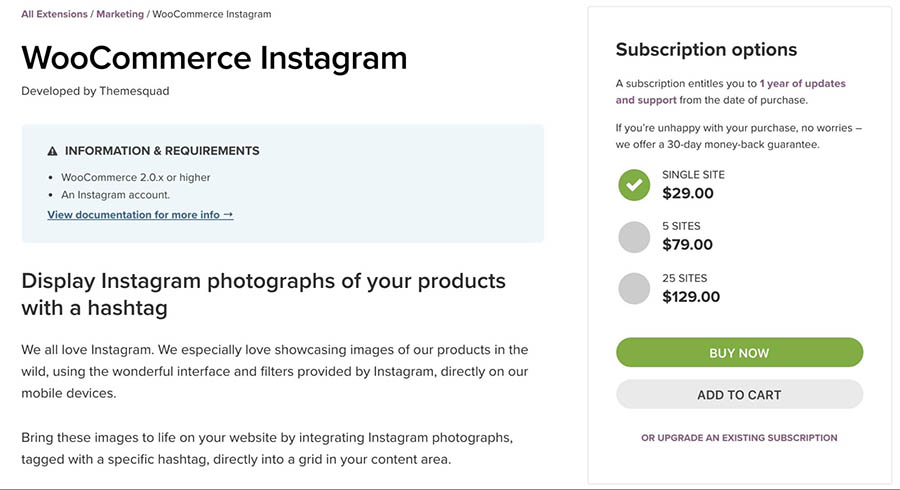
Fortunately, there are a variety of ecommerce features and WooCommerce extensions available to help. You can choose popular services such as Drip, MailChimp, and even Instagram to promote your products to followers and subscribers.
Marketing will be an ongoing responsibility, so investing in some tools to help you streamline your efforts will be worth it in the long run. The extensions mentioned above range from free to $79 per year. You can also search the WordPress Plugin Directory for more free solutions, although you may find functionality is lacking depending on the plugin.
Get Content Delivered Straight to Your Inbox
Subscribe to our blog and receive great content just like this delivered straight to your inbox.
Building an Online Store
No one said becoming a small business owner would be easy, and there’s a lot of work that goes into starting a brand new business. However, WordPress and WooCommerce can simplify many of the tasks required to get your e-commerce site up and running.
Ready to build an online store? Our WooCommerce hosting packages make it easy to sell anything, anywhere, anytime on the world’s biggest ecommerce platform.